How to prepare your training photos
Get the best results from our AI by following this workflow for selecting, cropping, and uploading your images.
How to prepare your images
Follow these three steps to pick, edit, and upload your training photos for the best AI headshot results.
Pick your photos
Choose high-resolution images from your camera roll or desktop. If using iCloud or Google Photos, download the highest quality version first. Put them in one folder and duplicate the set so you can edit copies and keep originals.
Upload
Upload 4 to 10 photos, each under 3 MB, in JPG or PNG. Head to your dashboard, start a new model, and add your prepared images. Our AI will train on them and deliver your headshots.
Recommended steps
- Find high-resolution image files directly (camera roll, downloads, desktop, etc.).
- If using iCloud or Google Photos, download the highest quality version (e.g. “Original” or “Full resolution”) before editing.
- Add the chosen photos to a single folder, then duplicate the images and make your edits on the copies so you keep originals.
- Crop and resize as needed (see below). Name them 1–10 (e.g.
1.jpg,2.jpg) so you can keep track.
What kind of photos to upload
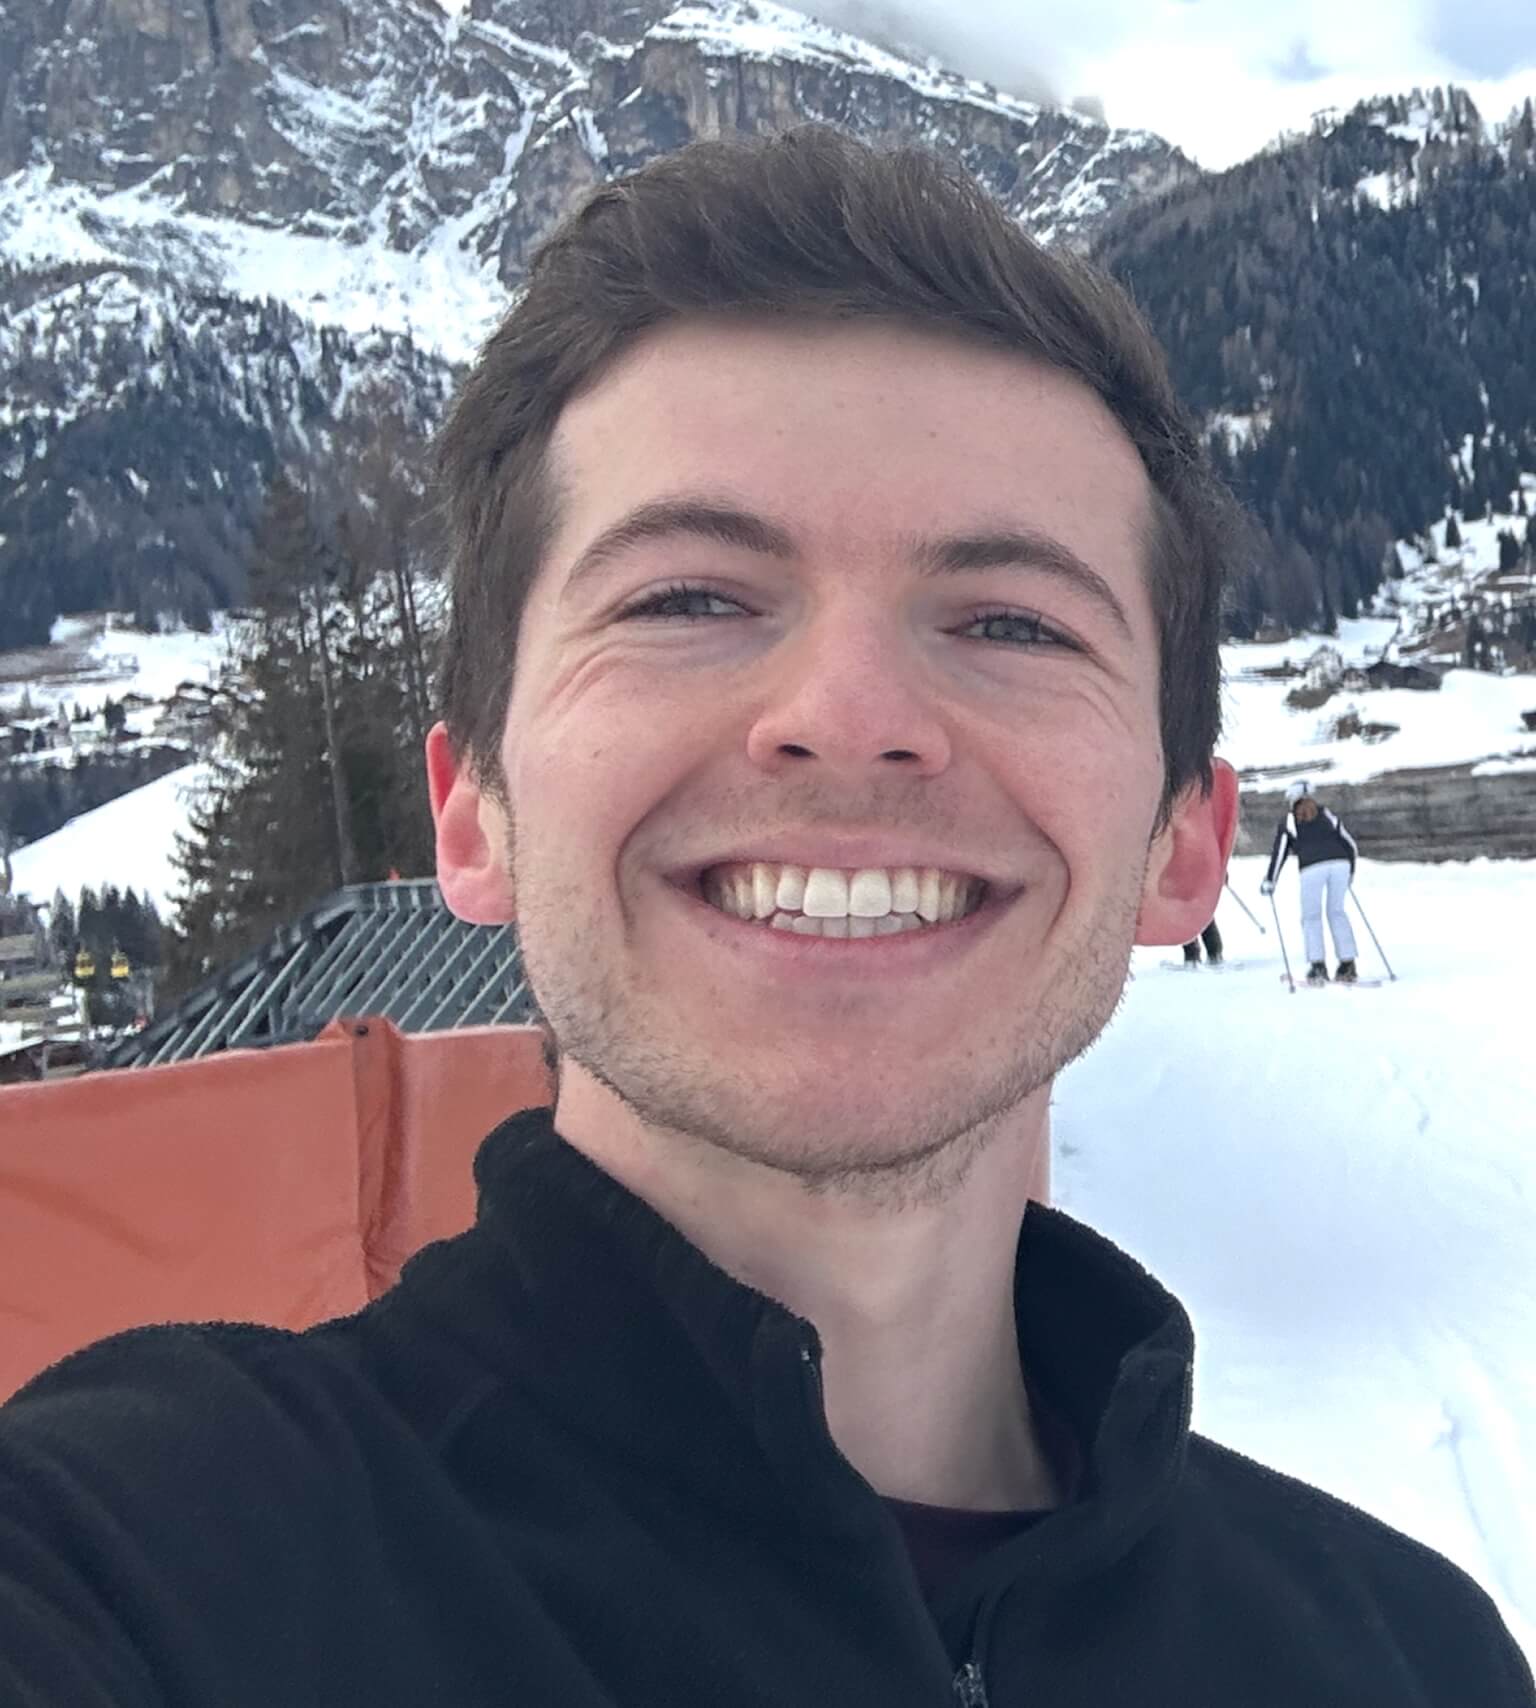
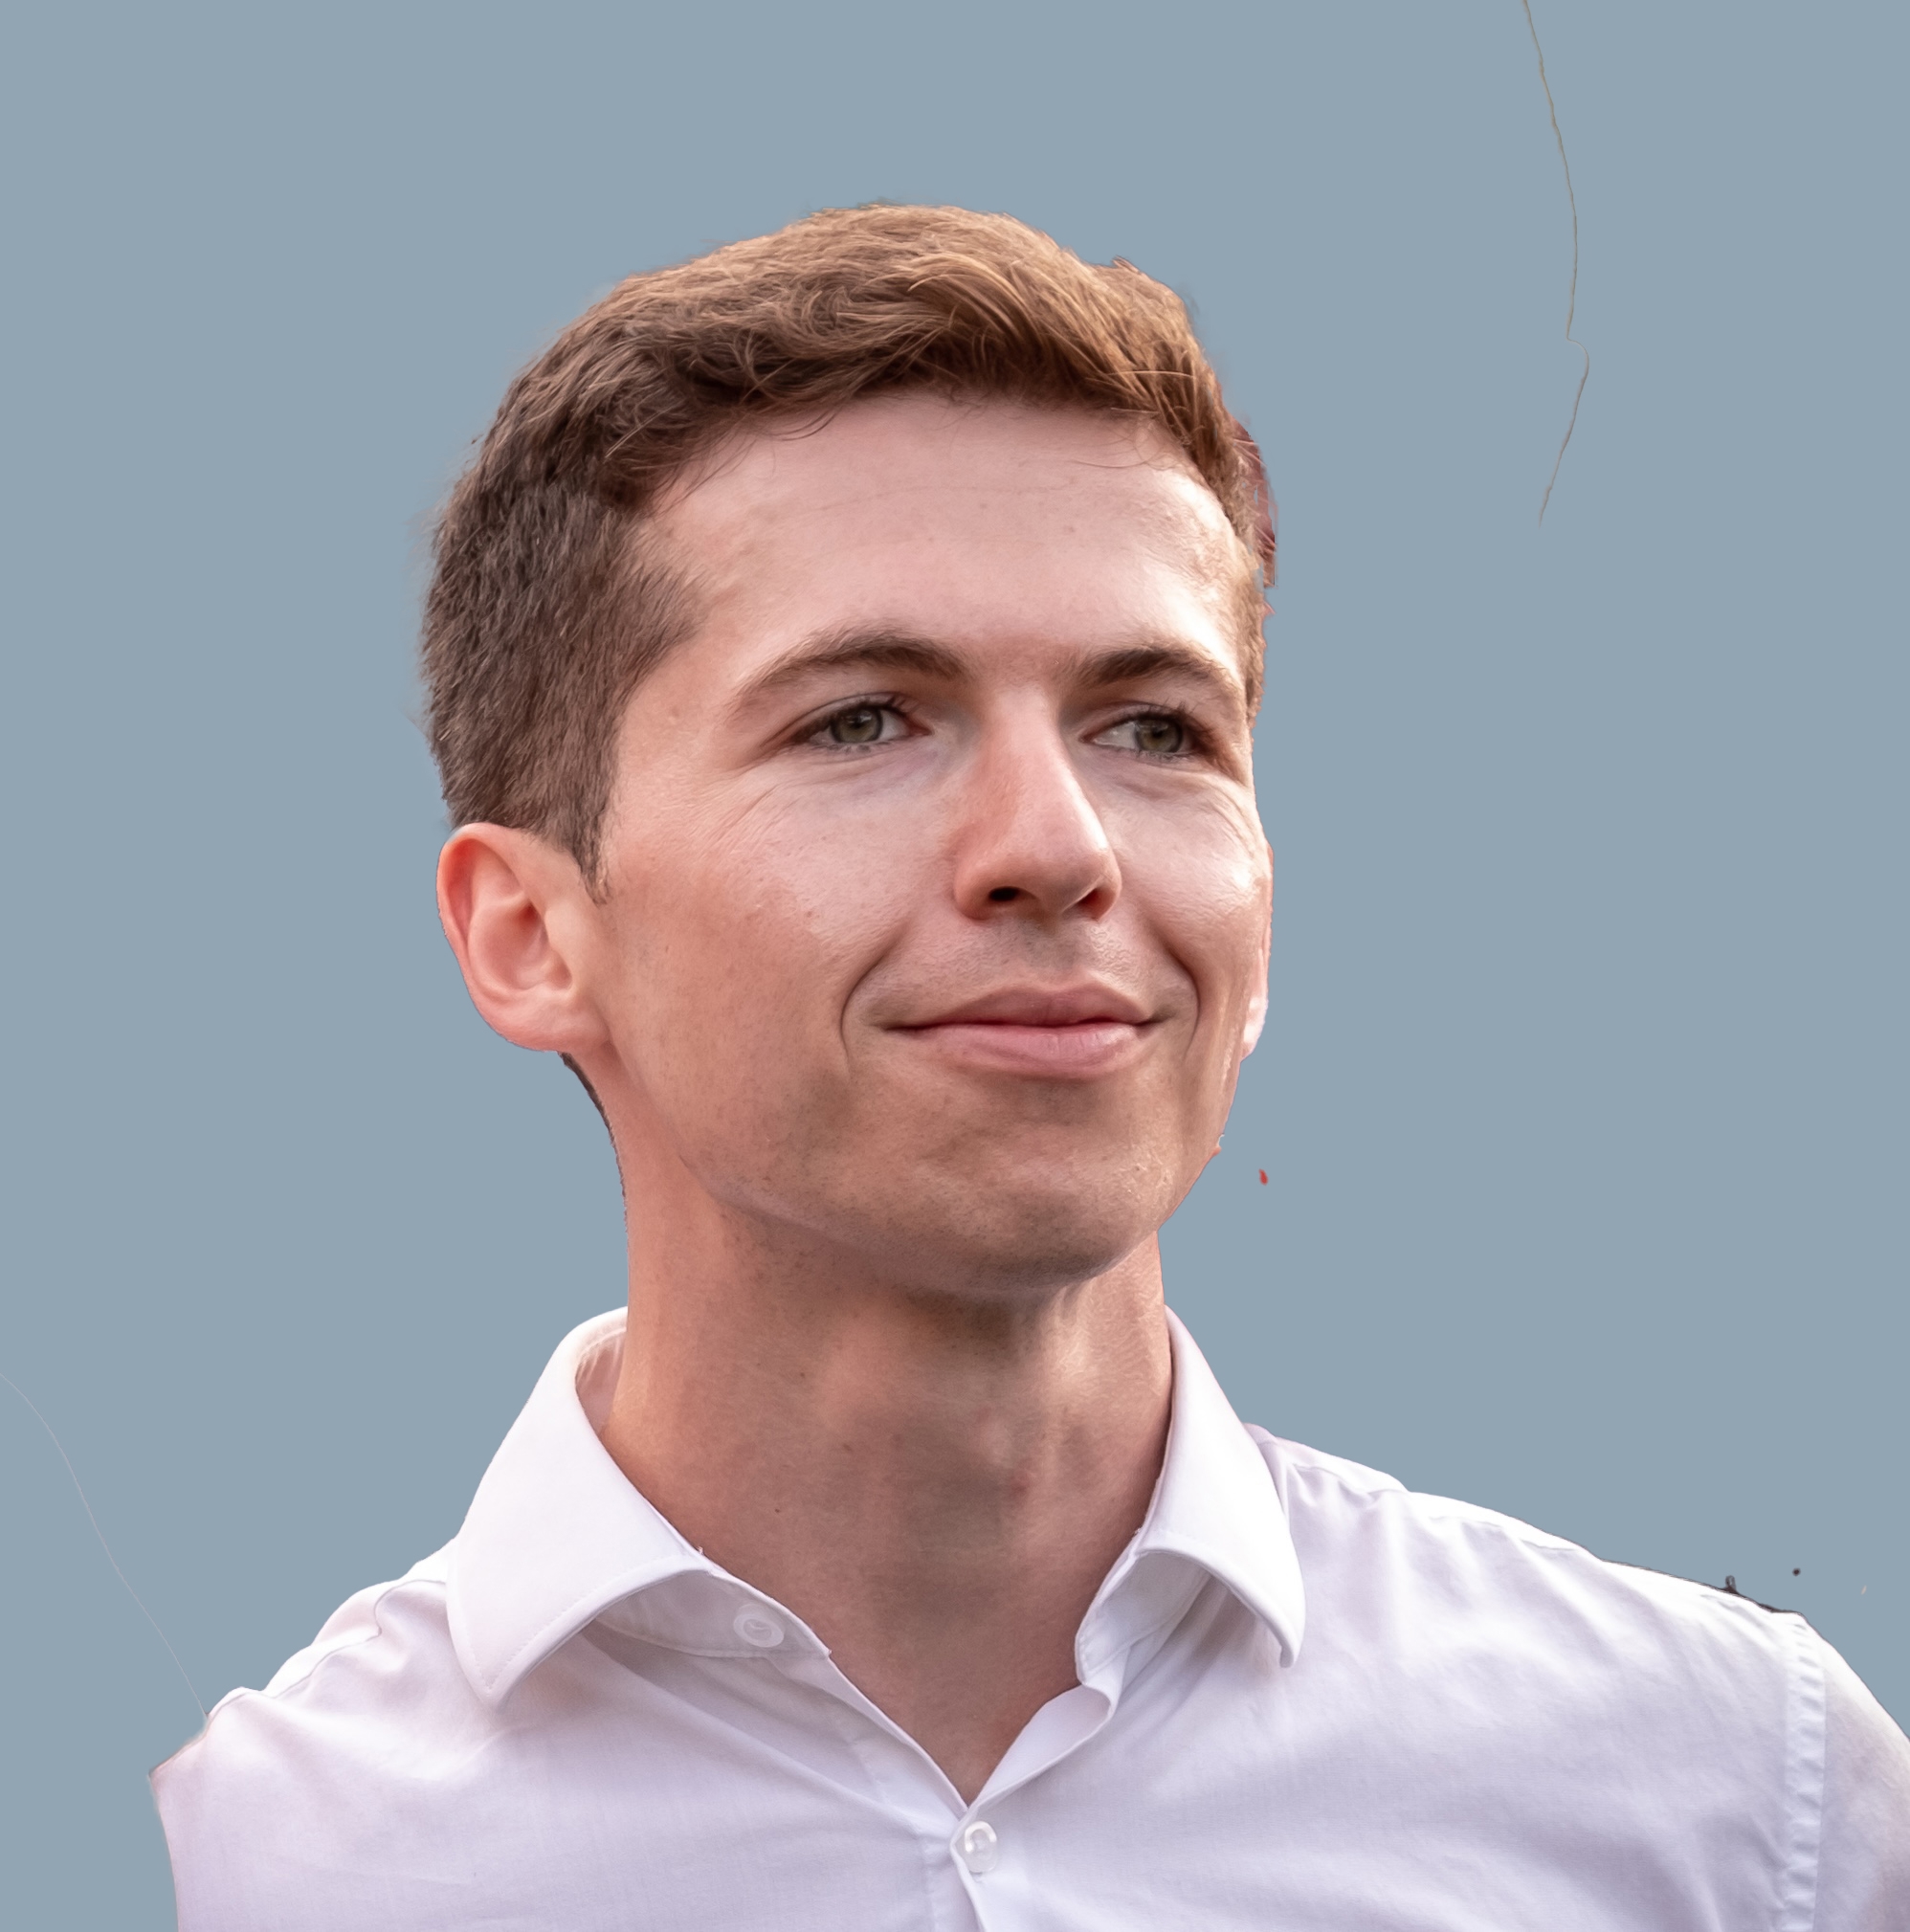
- Use 4–8 clear portrait photos of just you, shoulders-up or waist-up, plus a few full-body shots if you have them.
- Aim for variation: different outfits, poses, days, backgrounds, and lighting. Every image should add new information about you.
- Avoid multiple photos from the exact same moment (same outfit, background and lighting), otherwise the model may over-learn that look.
- Always choose photos where you are alone in the frame and not making exaggerated or “funny” faces.
Selection and crop with Preview (Mac)
- Open the image in Preview.
- Use the Selection tool (rectangular marquee) to select the area you want (e.g. face and shoulders).
- Crop: Tools → Crop, or ⌘K.
- To get a square (1:1): hold Shift while dragging the selection, or use Tools → Adjust Size and set the same width and height.
- Export or Save. Prefer “Save as” to keep the original; use JPEG for smaller file size.
Cropping, resizing, and spotting bad quality
You can crop high-resolution images without losing enough detail for the AI. You cannot fix a photo that is already low-resolution by cropping. You’ll just get a smaller, still low-res image.
How to spot a bad-quality photo: Very low resolution (e.g. under 512×512), very small file size (e.g. under 100 KB), or visibly blurry/compressed. If you only have small or low-res photos, you can try upscaling (e.g. with Upscayl) or see the optional section below and then check the result before uploading.
Optional: upscale small photos with AI
If your photos are too small (e.g. under 512px or very low file size), you can try upscaling them with an AI tool before uploading. Upscayl is a free, open-source upscaler for desktop (Linux, macOS, Windows). Always review the upscaled image. Results can sometimes look over-smoothed or show artefacts. Use only when you don’t have a higher-resolution source.
If images are too big
Each image must be under 3 MB. If your files are larger, either reduce their dimensions (e.g. in Preview: Tools → Adjust Size) or compress them. TinyPNG compresses JPEG and PNG with minimal visible quality loss. Upload your photos there, download the compressed versions, then use those for training.
File size limits
- Per file: 3 MB maximum per image (recommended by our AI provider for best training).
- Total: No combined limit; you upload 4–10 photos and each one must be under 3 MB.
- Supported formats: JPG, PNG.
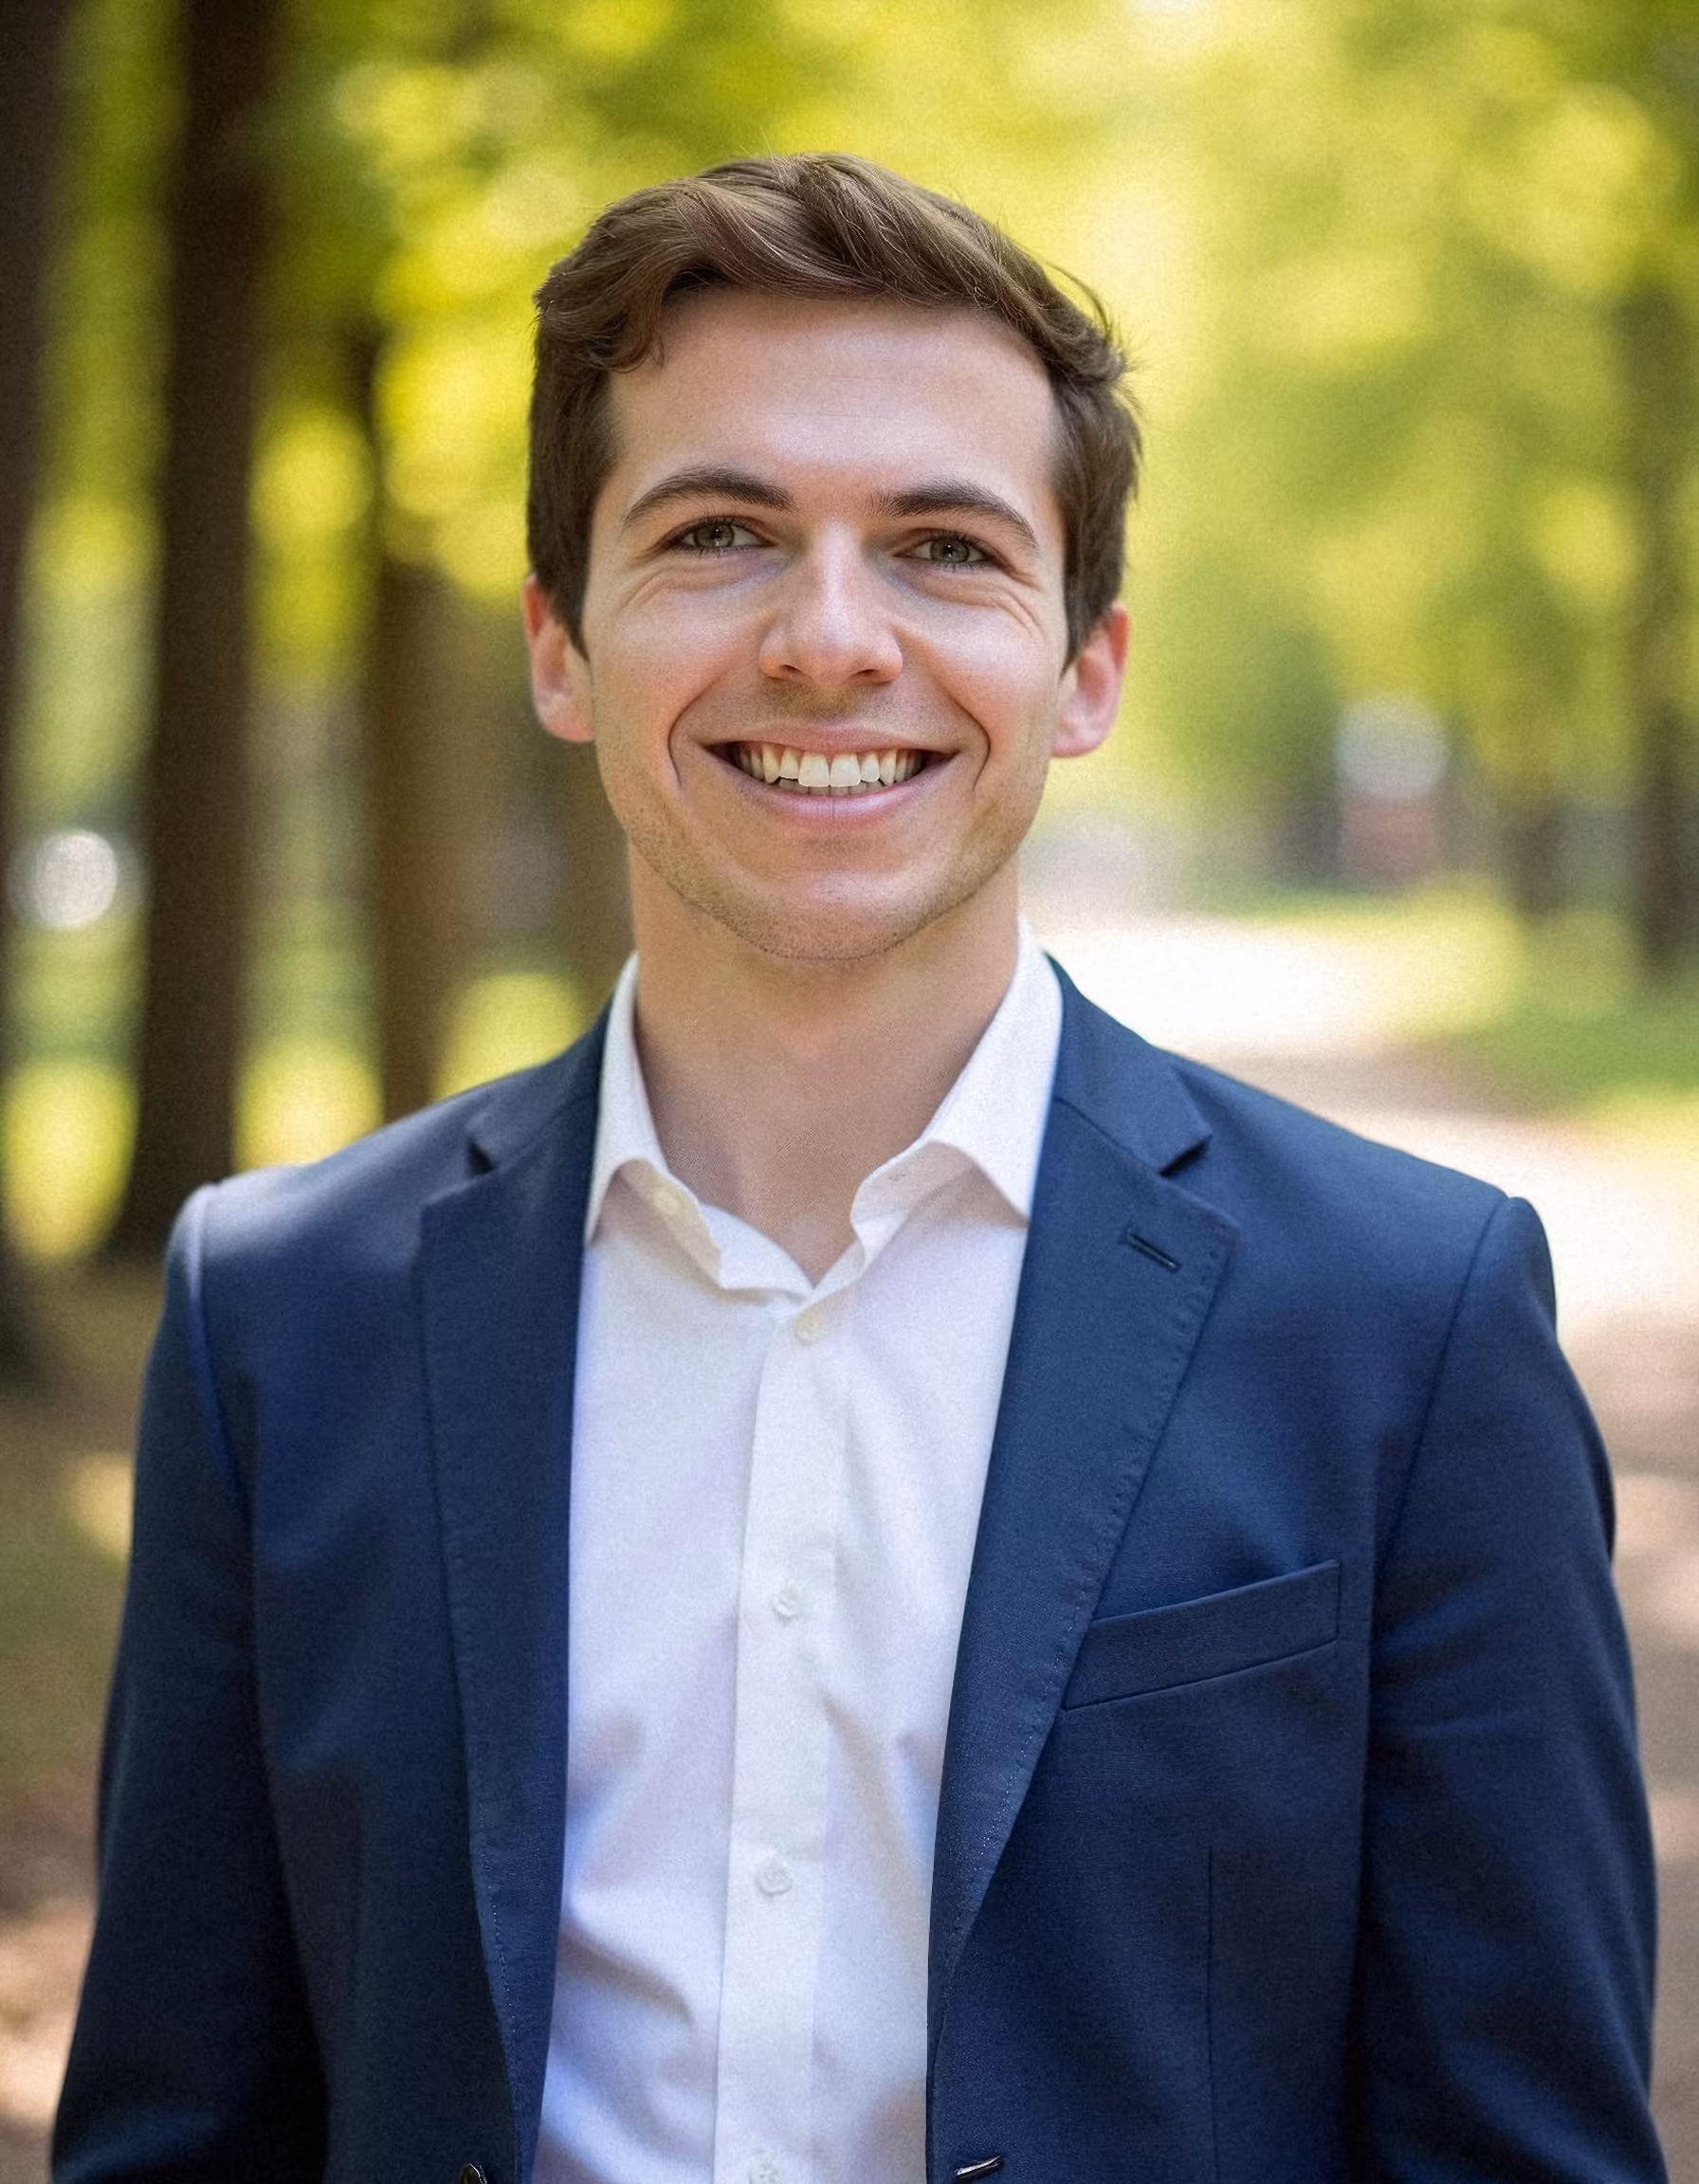
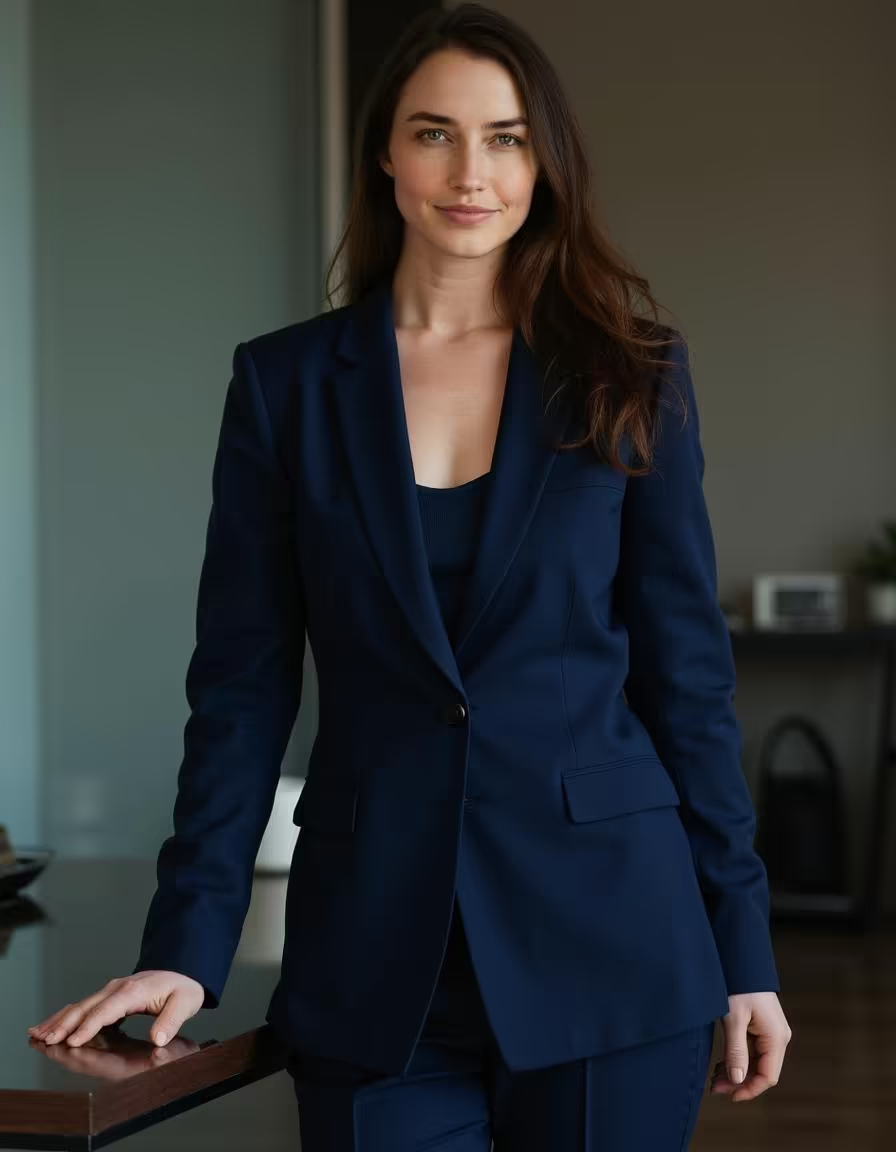
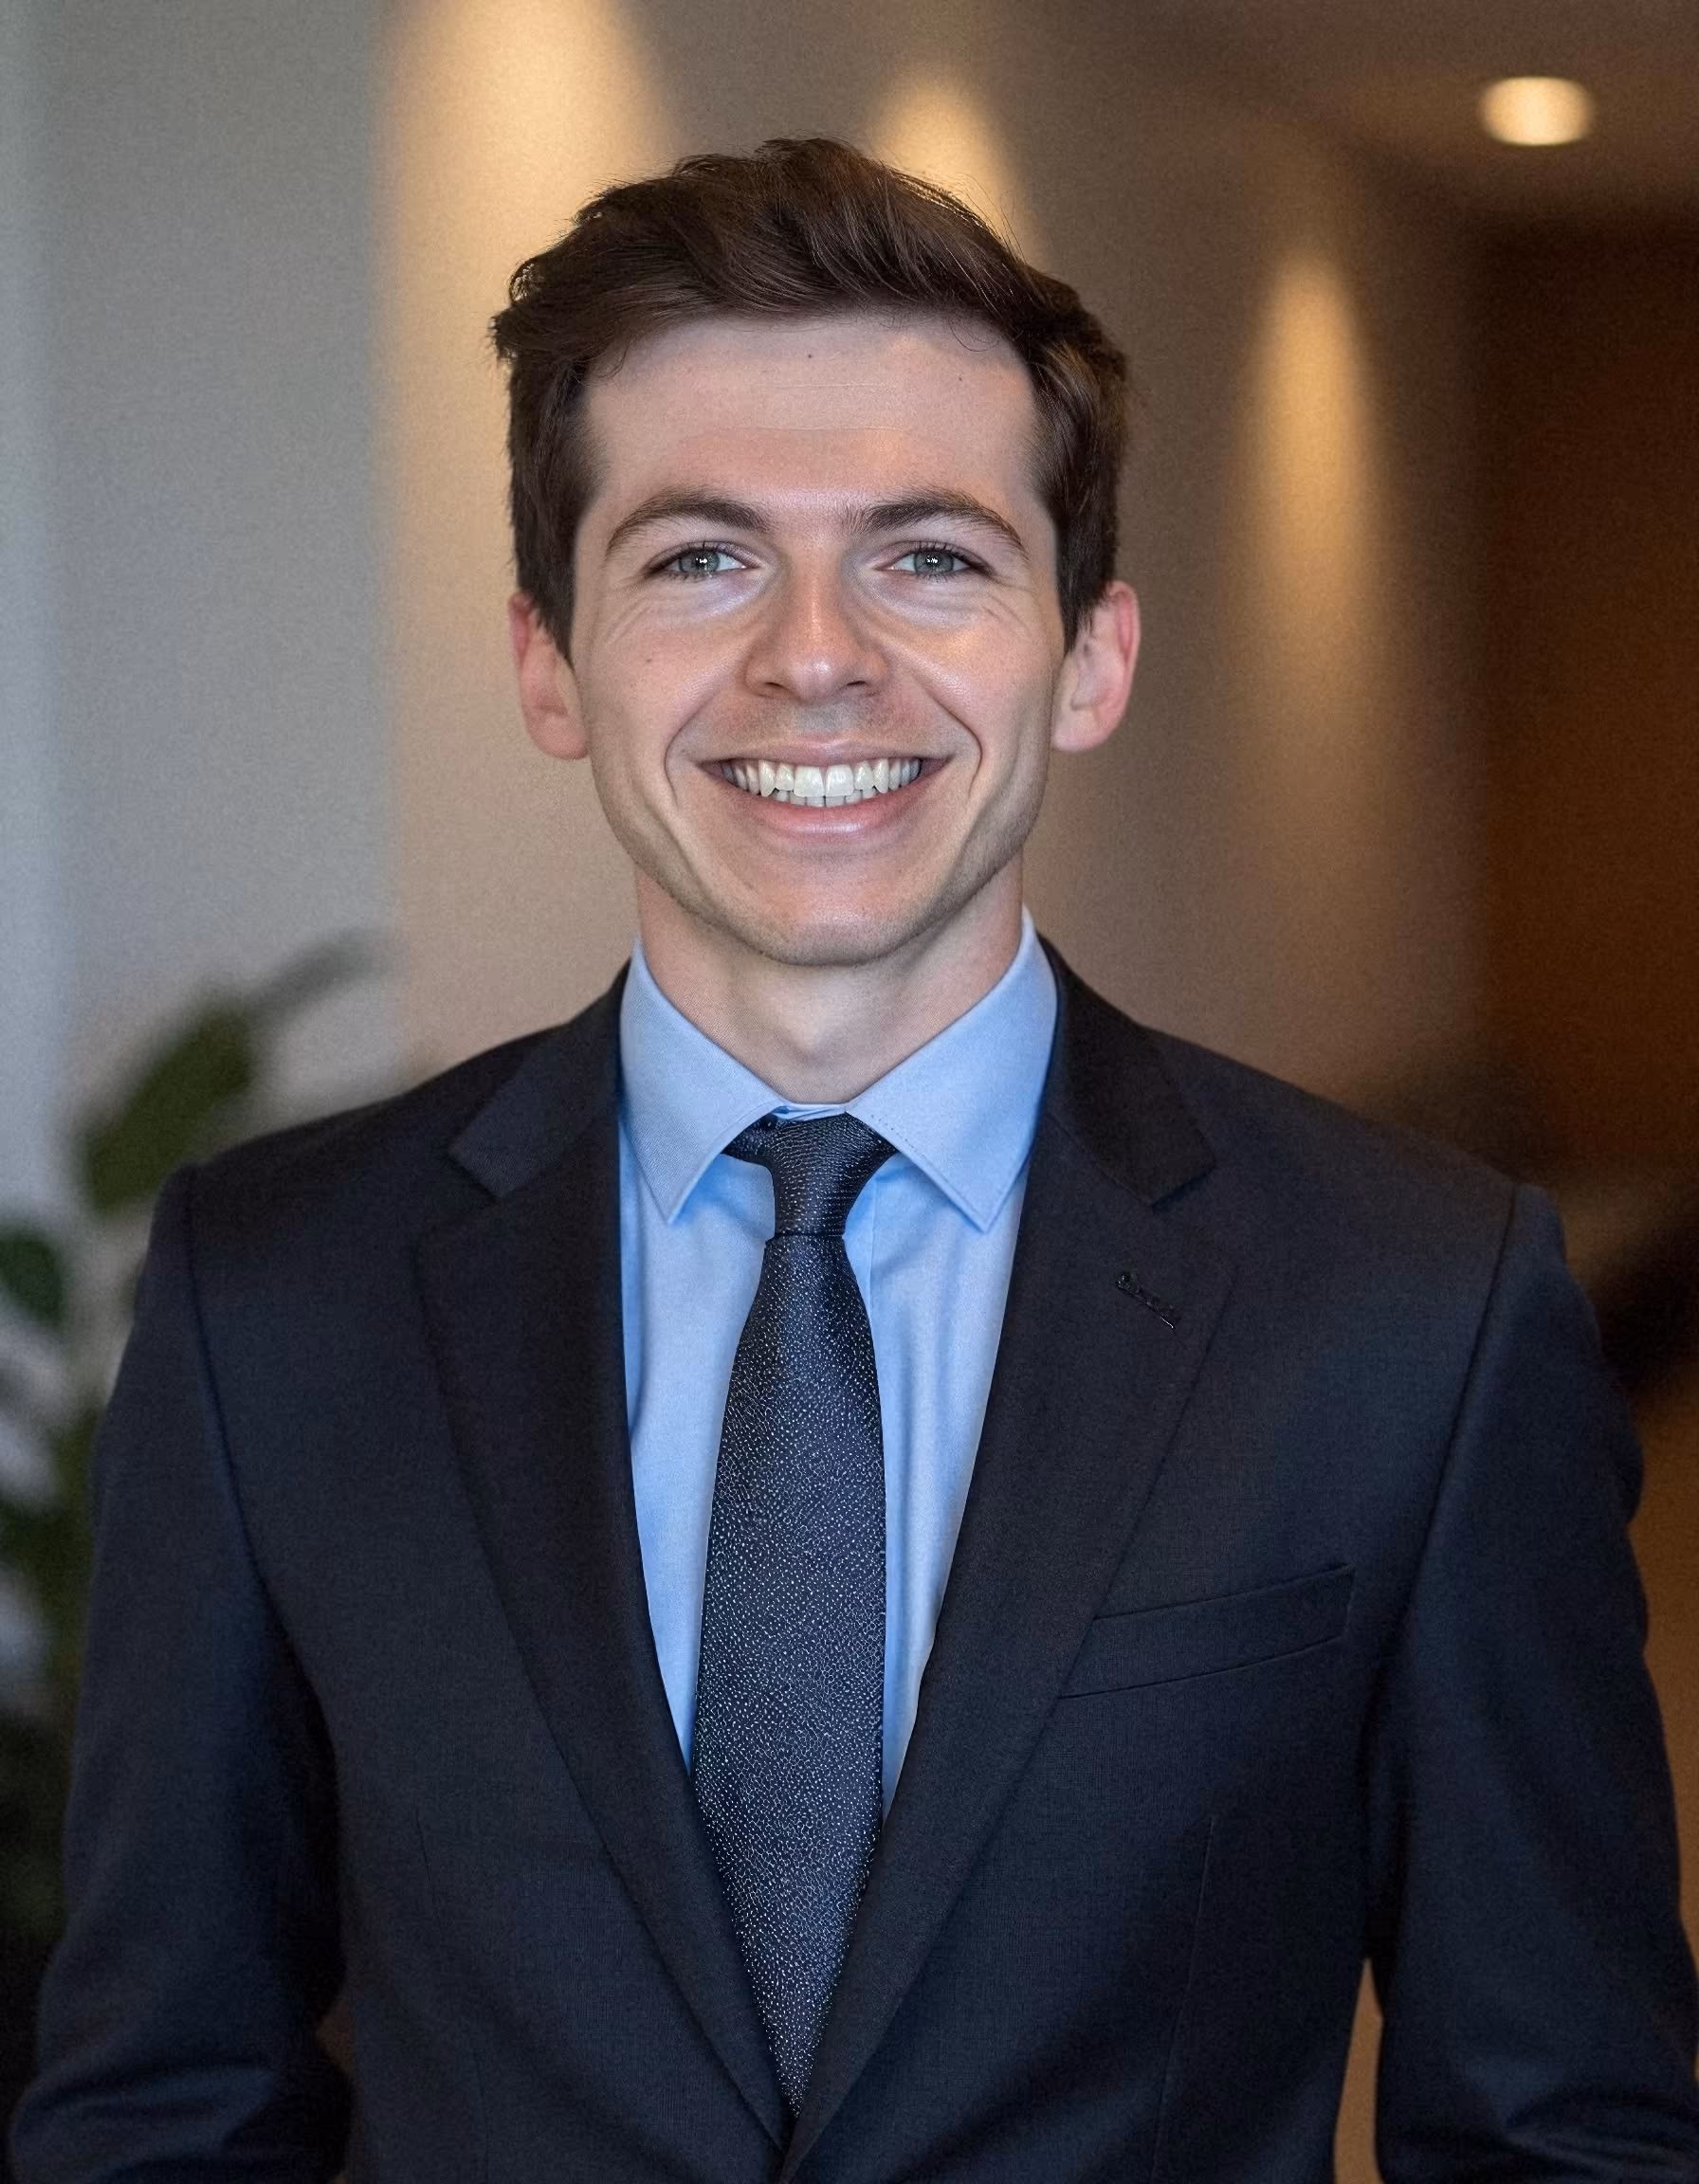
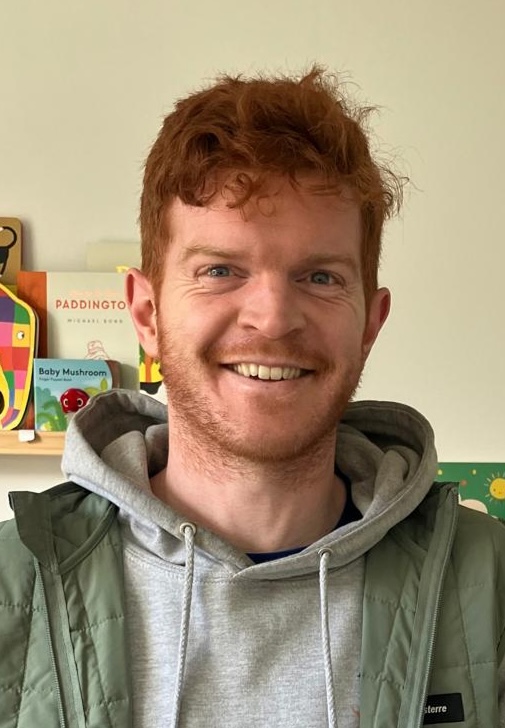
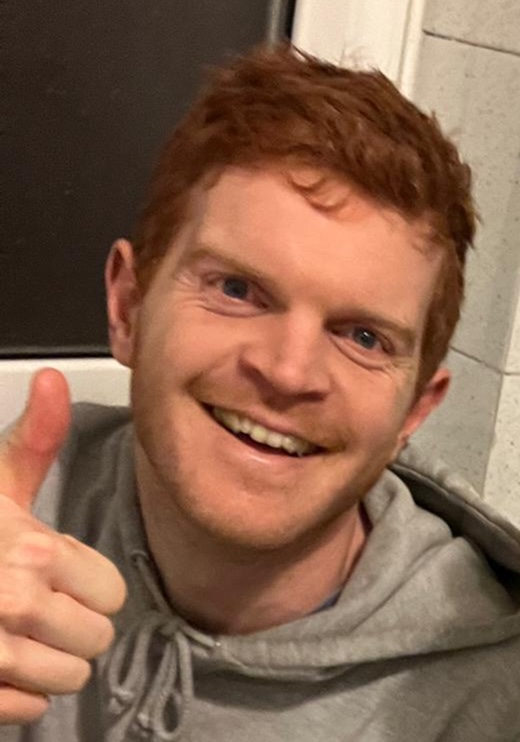
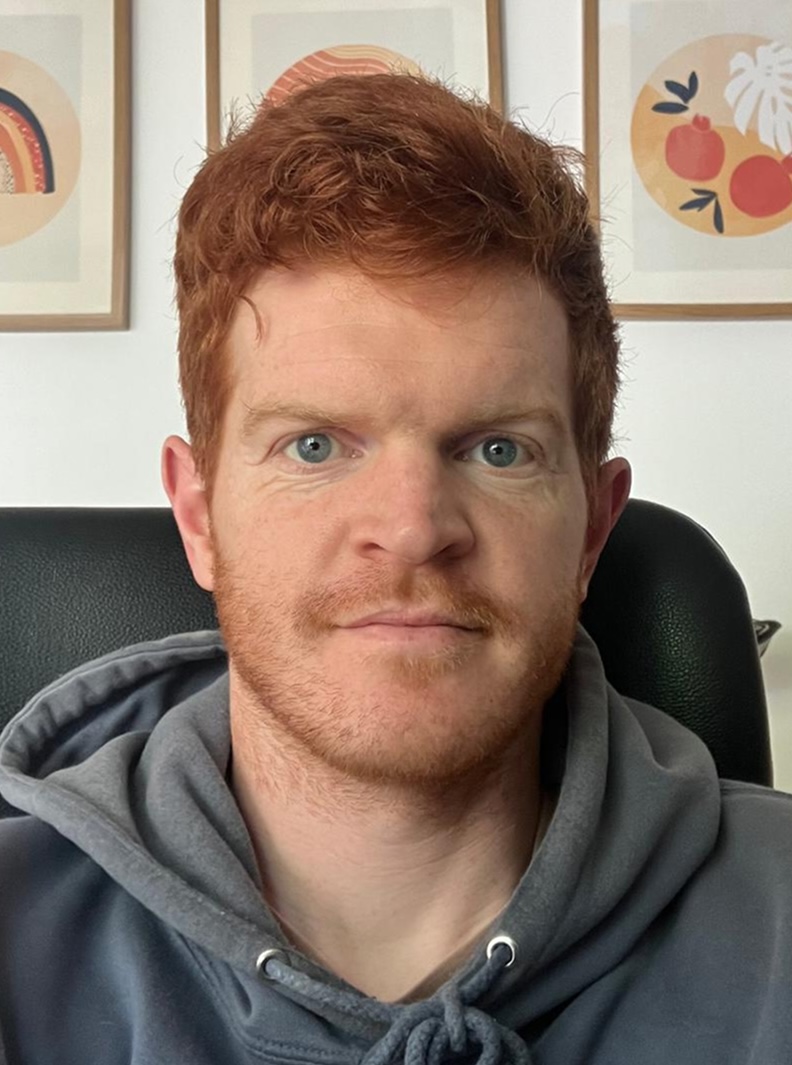
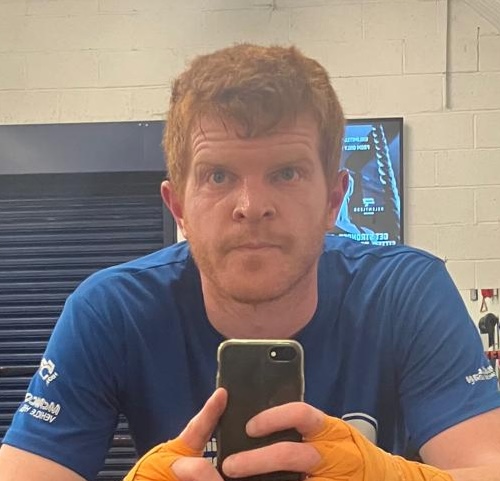
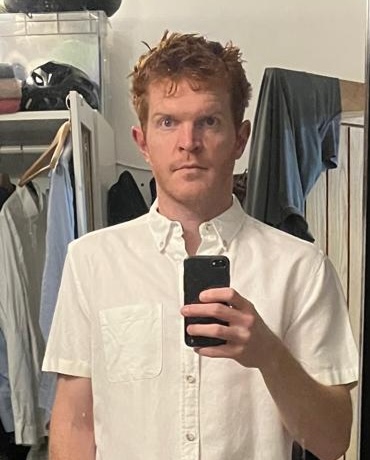
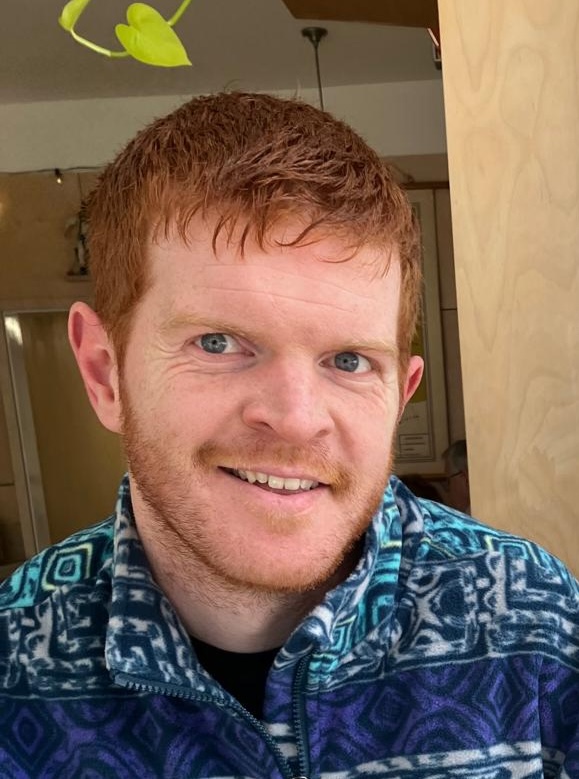
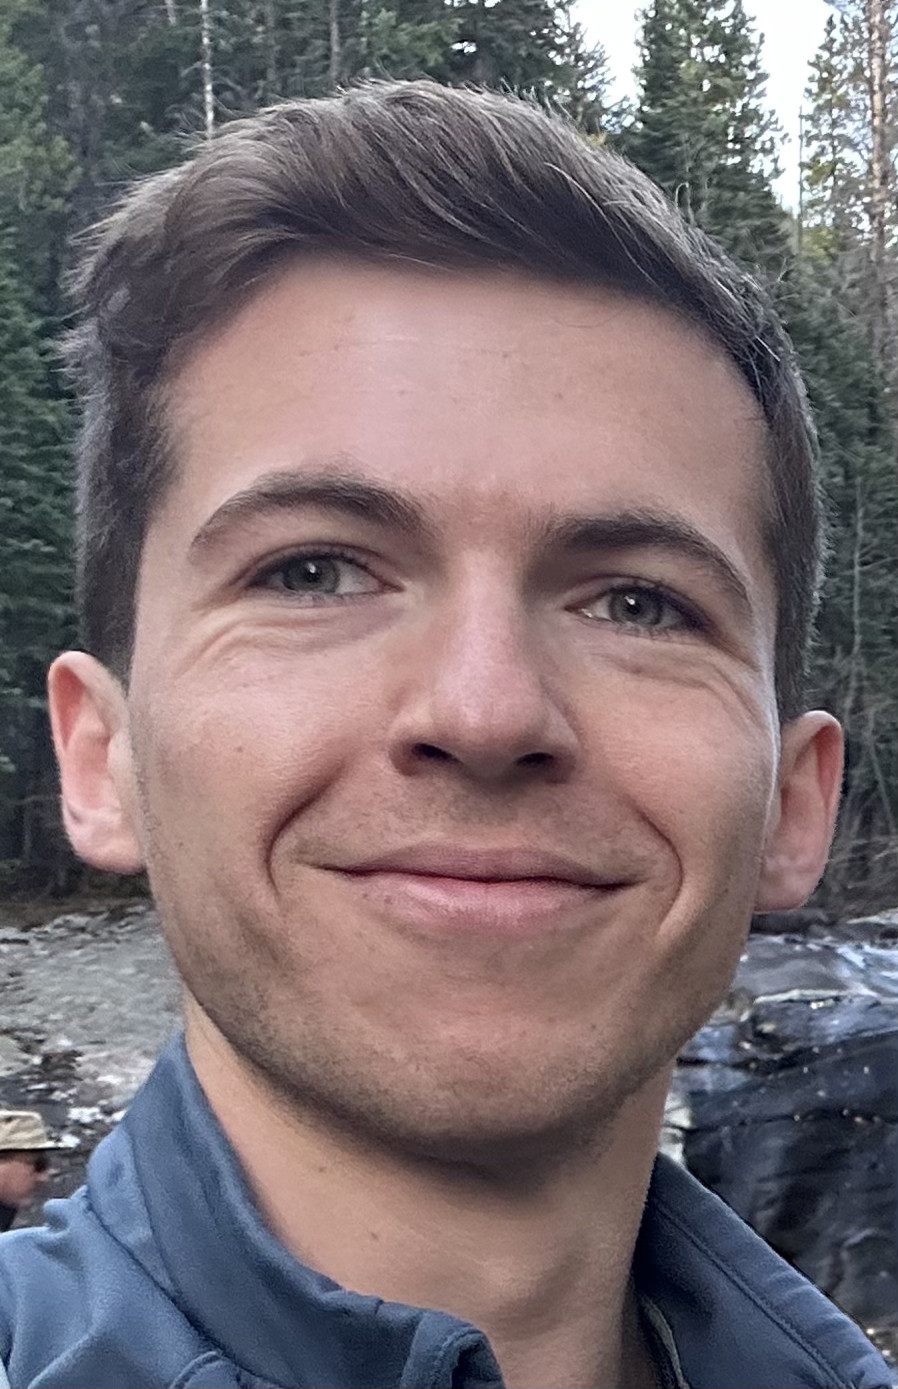
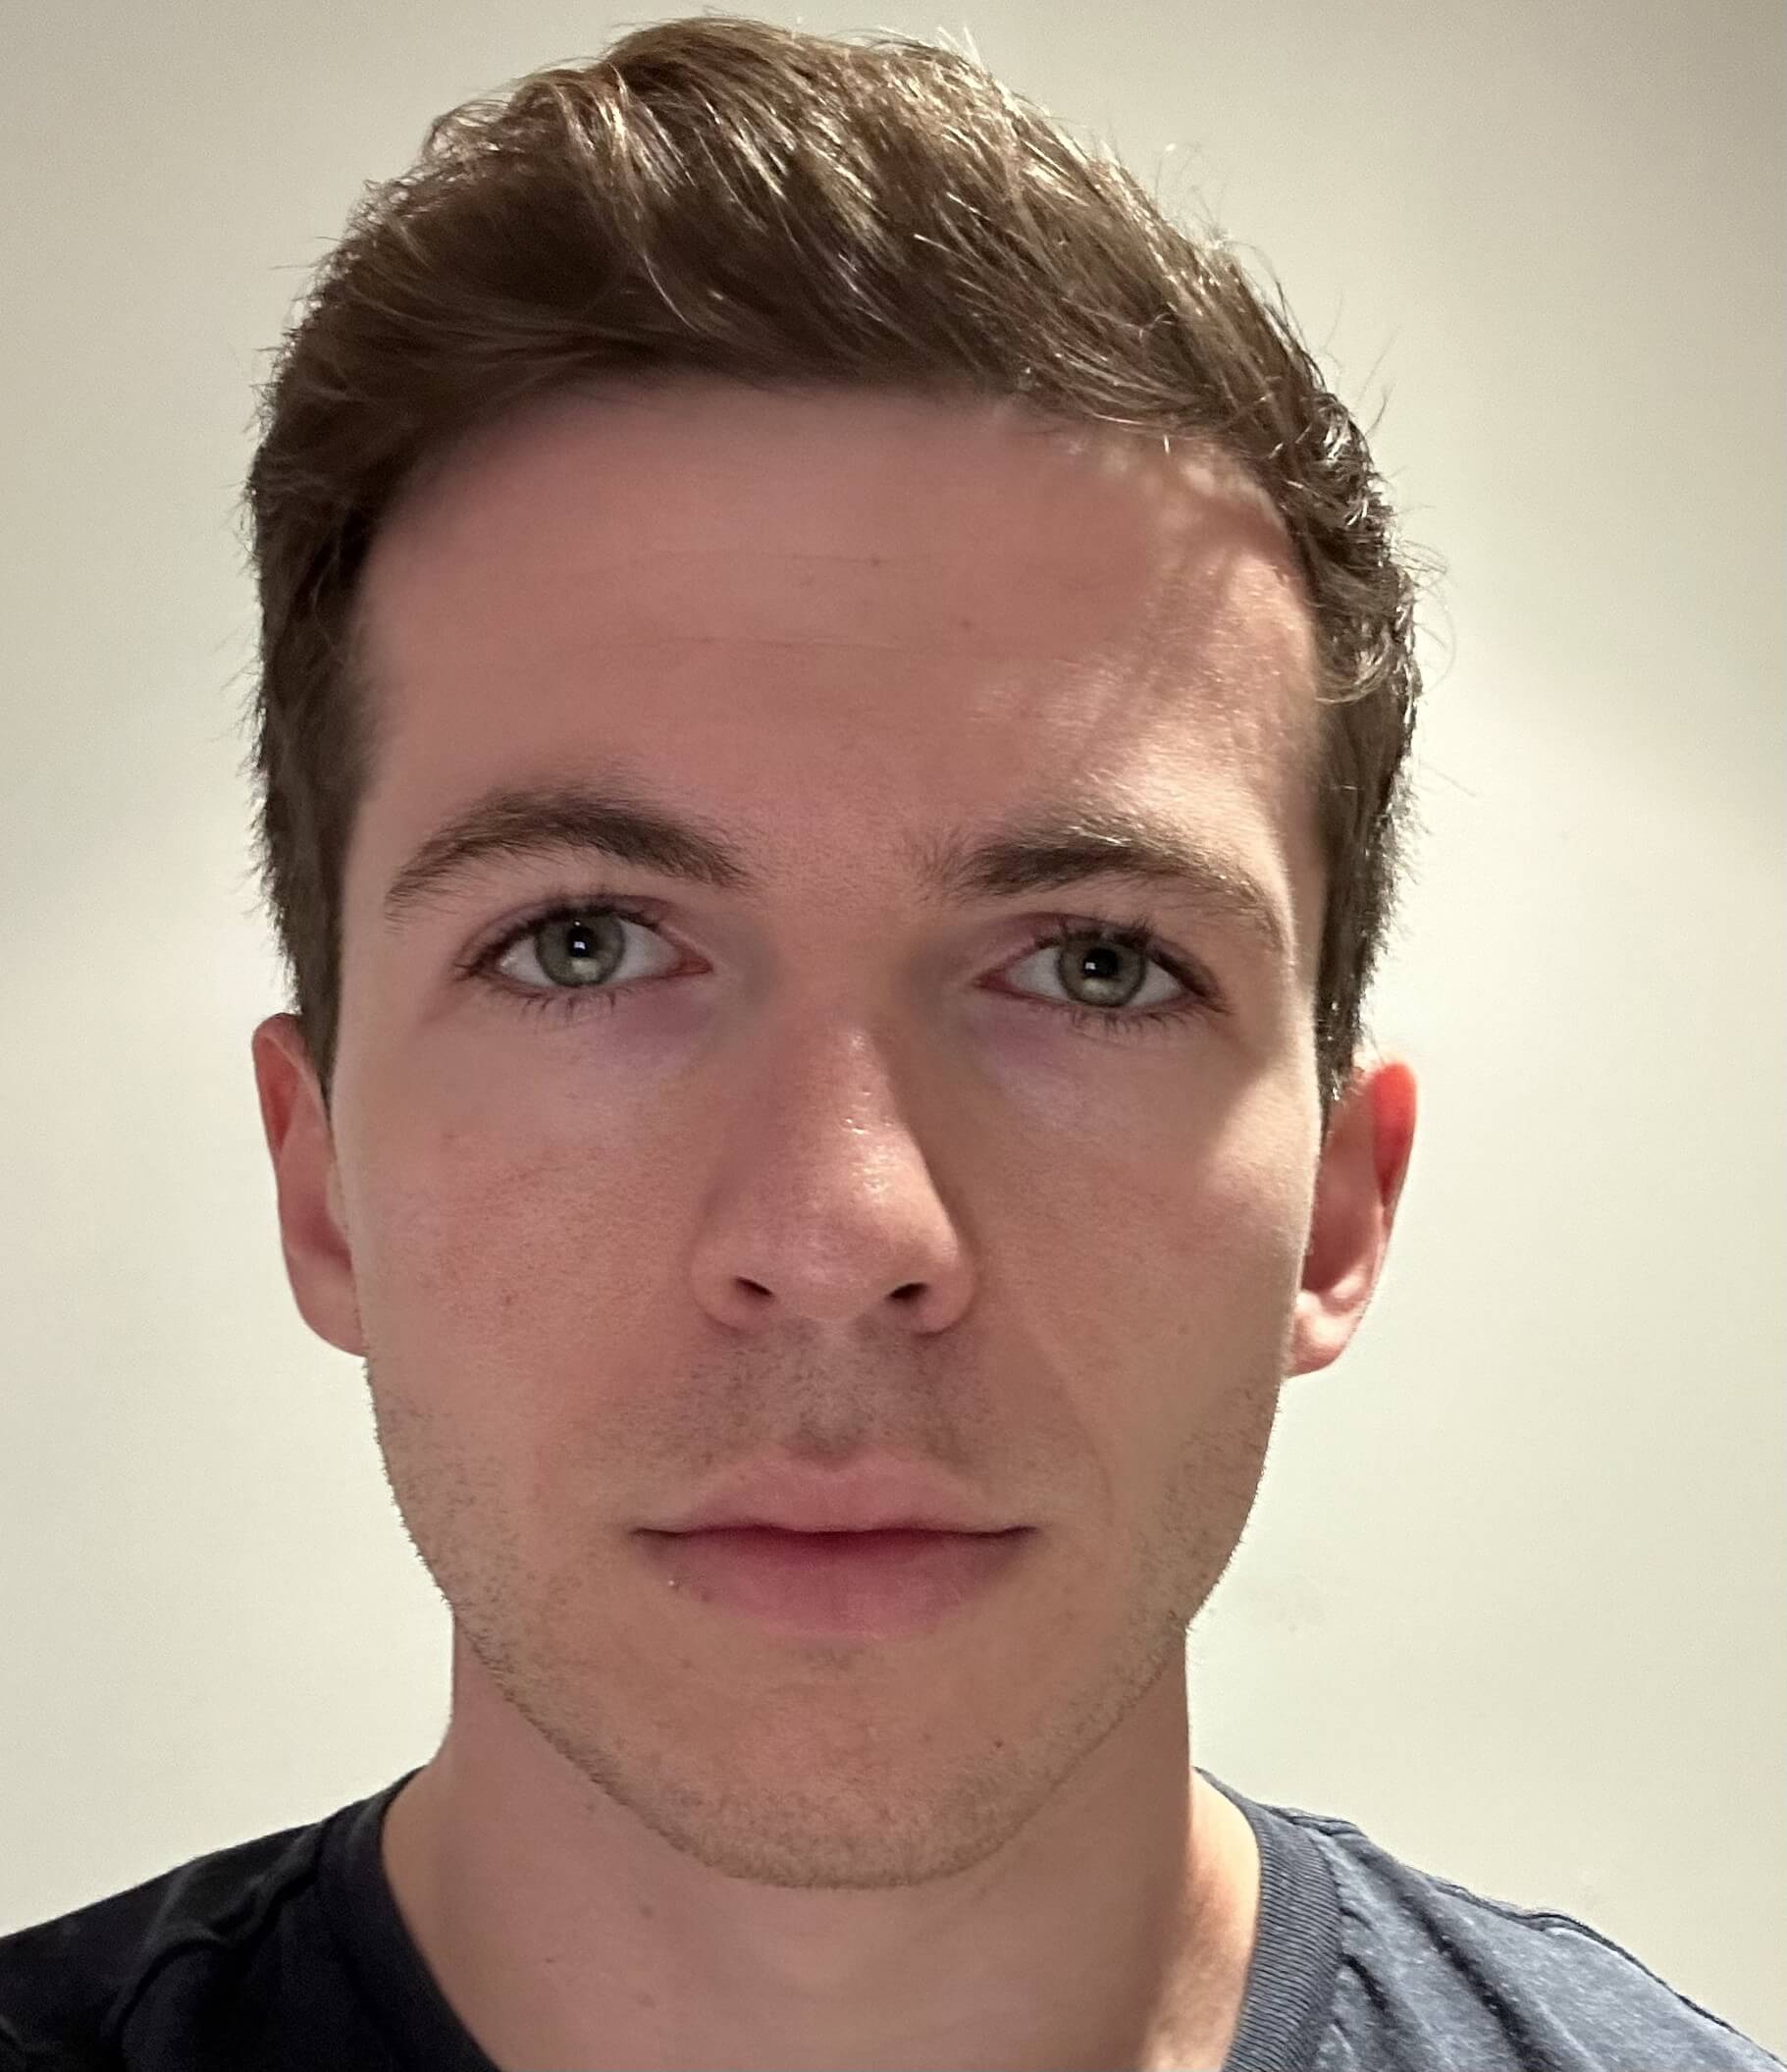
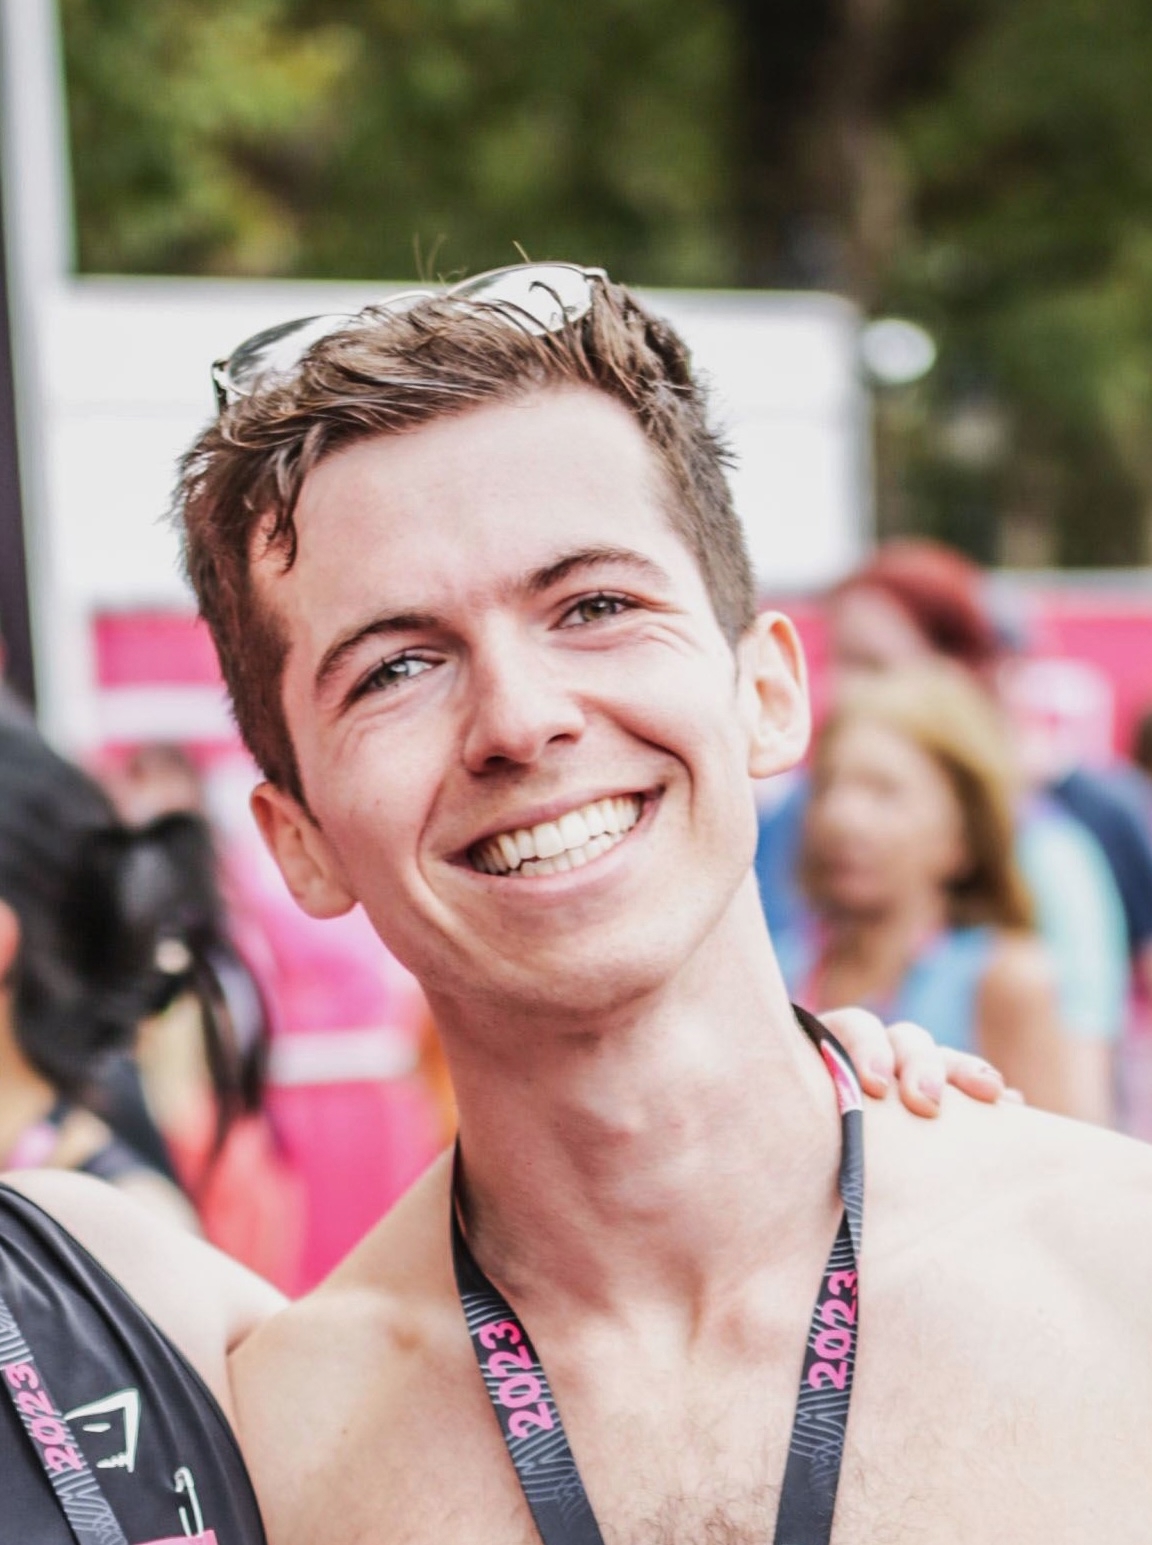
Example training images
These photos are examples of the kind of images that work well for training: clear, well-lit headshots that tend to produce better results.

FAQ – Training photos
Ready to upload? Head to your dashboard and start a new model.
Go to dashboard